7 Creative Wide-Angle Techniques That Take Your Underwater Photos Beyond the Ordinary
The reef drops away beneath you into blue. Somewhere below, a school of fish turns as one, and light from the surface falls through the water in shafts you could almost touch. You lift your camera, frame it up, and take the shot every other diver on the boat is about to take too.
Wide-angle underwater photography has a ceiling. Point your lense at a big scene, expose it correctly, and you’ll come home with a nice photo. Nice isn’t the same as memorable, and if you want images that stop people mid-scroll, you need to reach past a correct exposure.
These seven techniques are exactly what we dig into, hands-on, during my Wide Angle Workshops.
1. Natural light
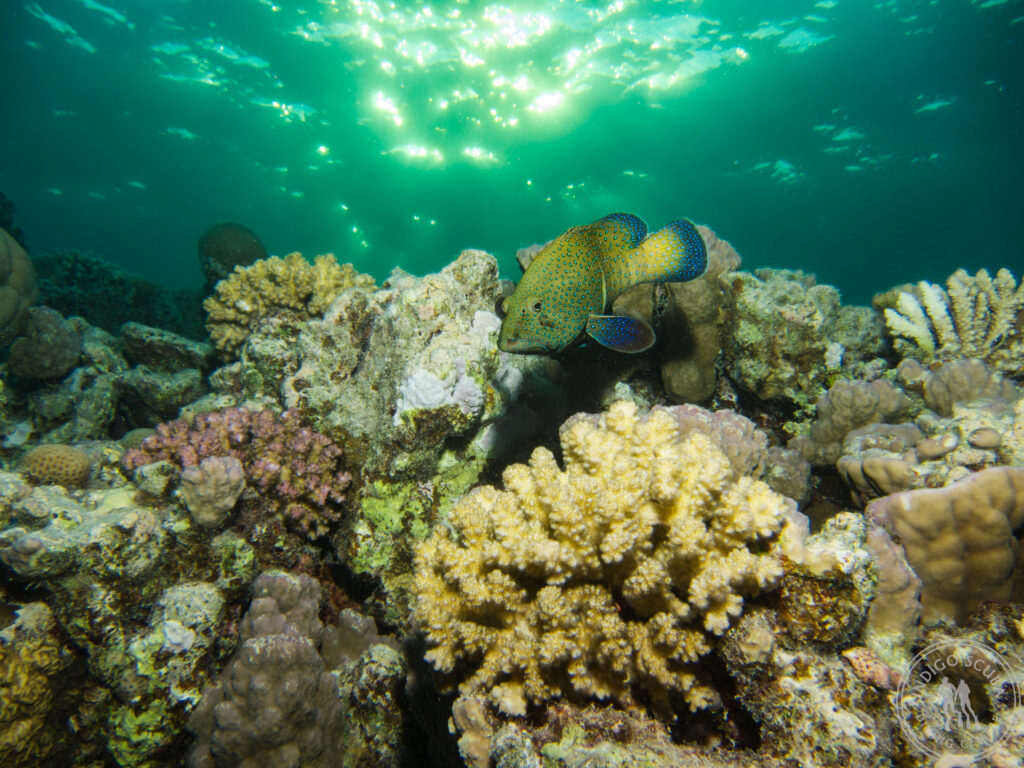
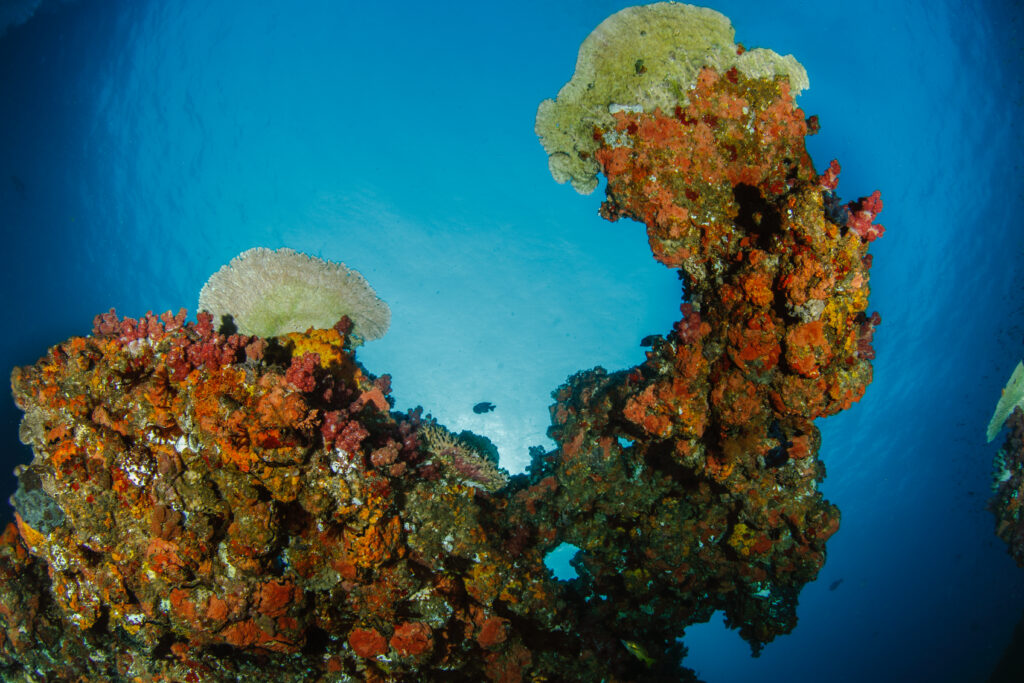
Before you reach for a single strobe, look at what the ocean is already giving you. Sunrise and sunset both throw dappled, golden light through the water that no artificial source fully replicates, whilst light beams falling through the opening of a cavern can turn an ordinary swim-through into something almost otherworldly.
Working with natural light means opening your aperture, slowing your shutter and lifting your ISO, but push any of the three too far and you’ll lose depth of field, corner sharpness, or a clean, grain-free image. Learning that limit on your own gear teaches you more about your camera than almost anything else you do underwater.
2. Strobe lighting techniques
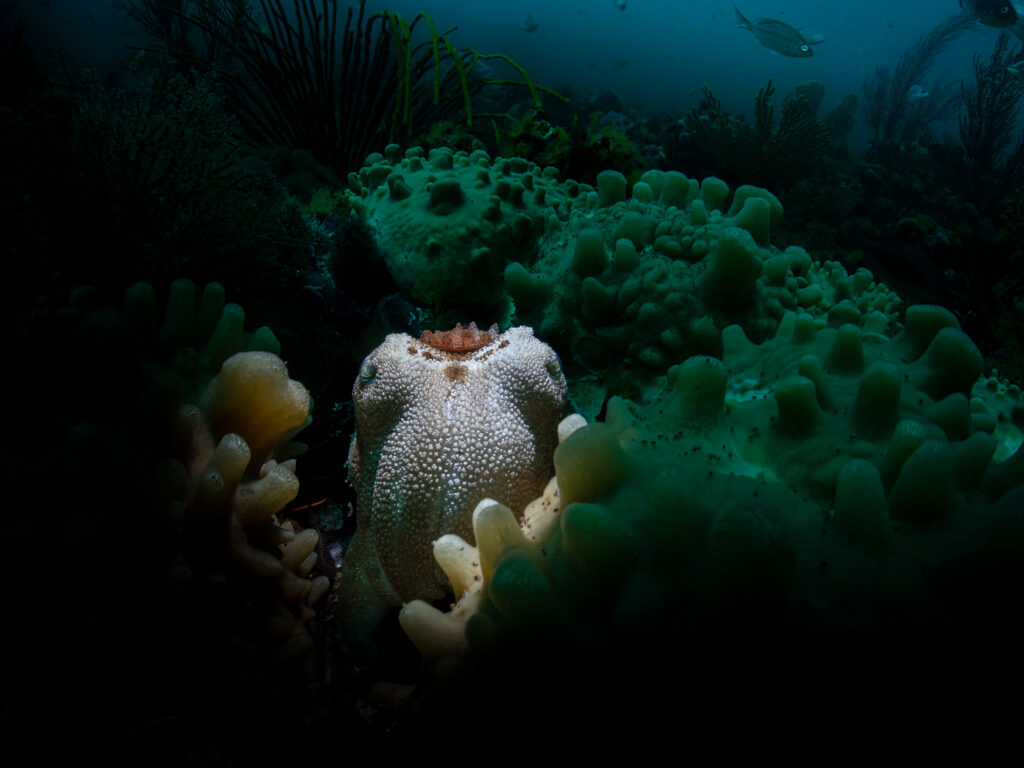
Natural light is beautiful, but strobes let you paint a subject rather than simply expose it. Side lighting reveals texture and detail you’d otherwise miss. Backlighting turns a subject into a striking silhouette. Off-camera lighting throws light into one pocket of your frame instead of flooding the whole scene, and a snoot narrows that light further still, so only your subject catches it whilst everything else falls into shadow.
If you can’t touch it, you can’t light it, so get close, experiment with angle and intensity, and don’t be afraid to plunge half your frame into darkness on purpose. You also need to make sure you position your strobes so that they meet just before your subject but do not light the water between your camera and your subject – this causes the dreaded backscatter!
3. Close focus wide angle
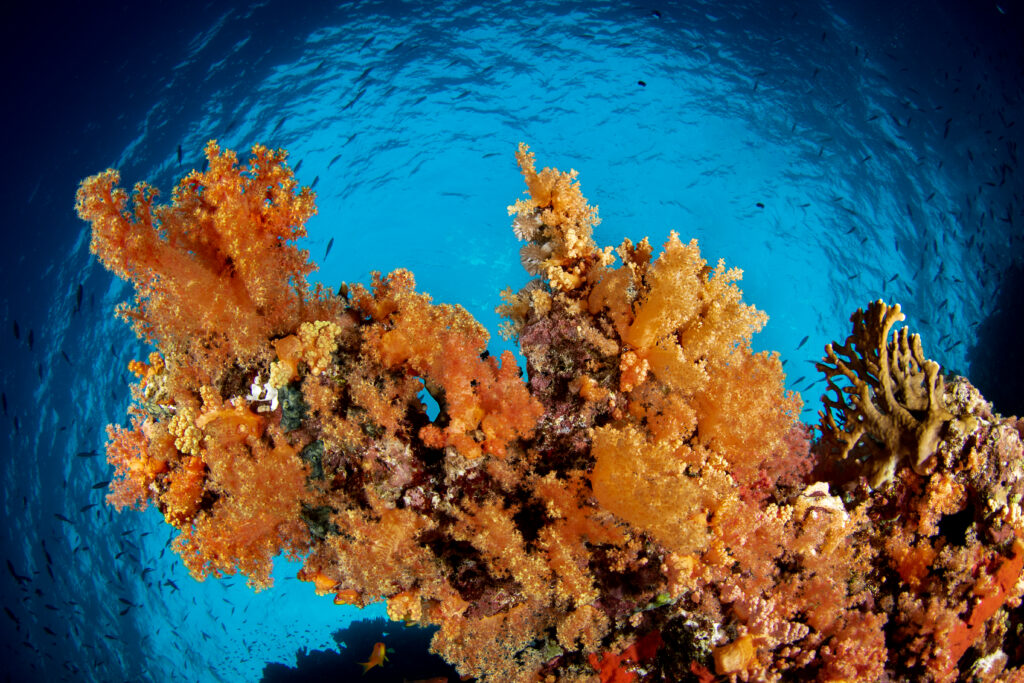
Pair a fisheye lense with a small dome port and you can focus so close that a subject the size of your hand fills the frame, whilst the reef or wreck behind it still reads clearly. It’s an odd, slightly comical look that close-up macro or standard wide-angle simply can’t manage.
Because your subject sits so close to the port itself, your strobes need to move with it, right in against your housing on either side, lighting it from point-blank range rather than from arm’s length.
4. Split shots
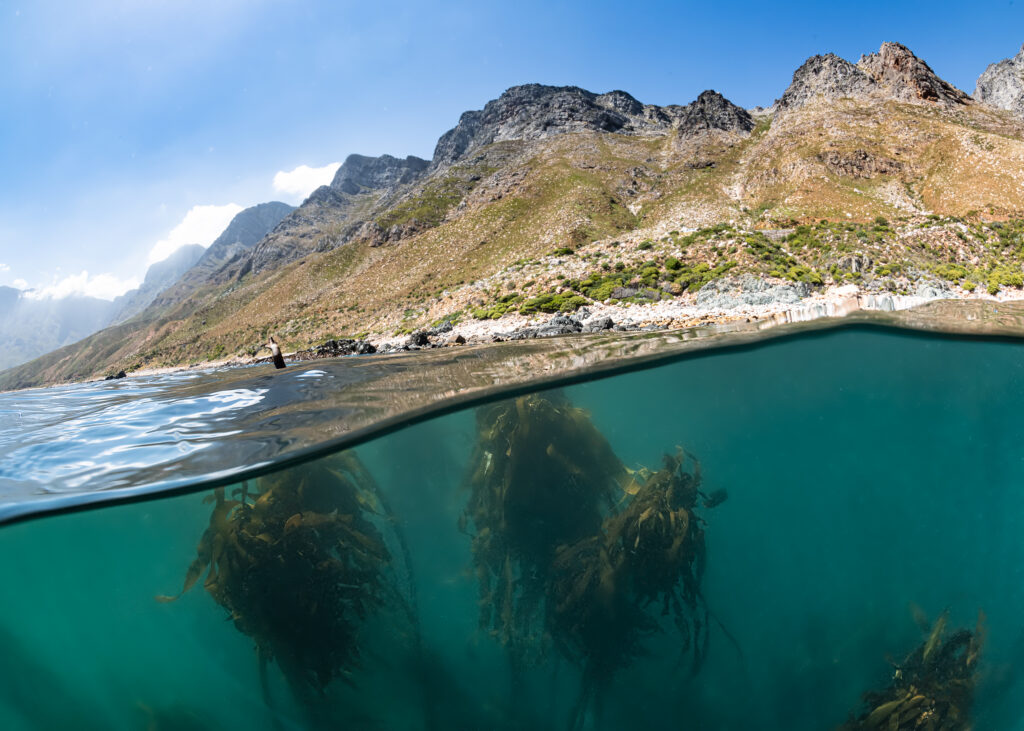
Also known as over-unders, split shots capture the underwater world and the world above the surface in one frame. Calm, clear water and plenty of ambient light give you the best odds, with the sun behind or above you rather than fighting it by shooting into the sun.
A larger dome makes it easier to control the water surface in the frame and a smaller aperture keeps both halves sharp. Light your underwater subject with your strobes, dip the dome quickly to clear water droplets right before you shoot, and don’t be discouraged if your first dozen attempts don’t work.
5. Reflections
Ultra-calm water is non-negotiable here, whether you’re photographing a full reflection or working one into a split shot. For an underwater-only reflection, choose a subject close to the surface, get close to the surface and angle your port upward so its mirror image forms cleanly on the under surface of the water and you are able to see the reflection in your viewfinder.
A strobe helps in low light, particularly at sunrise or sunset, and a narrower aperture keeps the subject and its reflection both crisp. Shallow coral reefs, lagoons and larger animals near the surface all make excellent subjects, so keep your eyes up as much as down on these dives.
6. Snell’s Window
Look straight up through calm, shallow water and you’ll see it: a circle of sky framed by the water’s surface, the ocean’s own window onto the world above. Point your lense directly upward and hold your housing level, and depending on your exact angle you’ll get anything from a full fisheye circle to a curved sliver tucked into one corner of the frame.
A small aperture holds focus from front to back. Use your ISO and shutter speed to control the exposure. Mangroves and shallow lagoons are where this technique shines brightest, so if you’re diving somewhere calm and clear, look up before you swim past it.
7. Motion blur
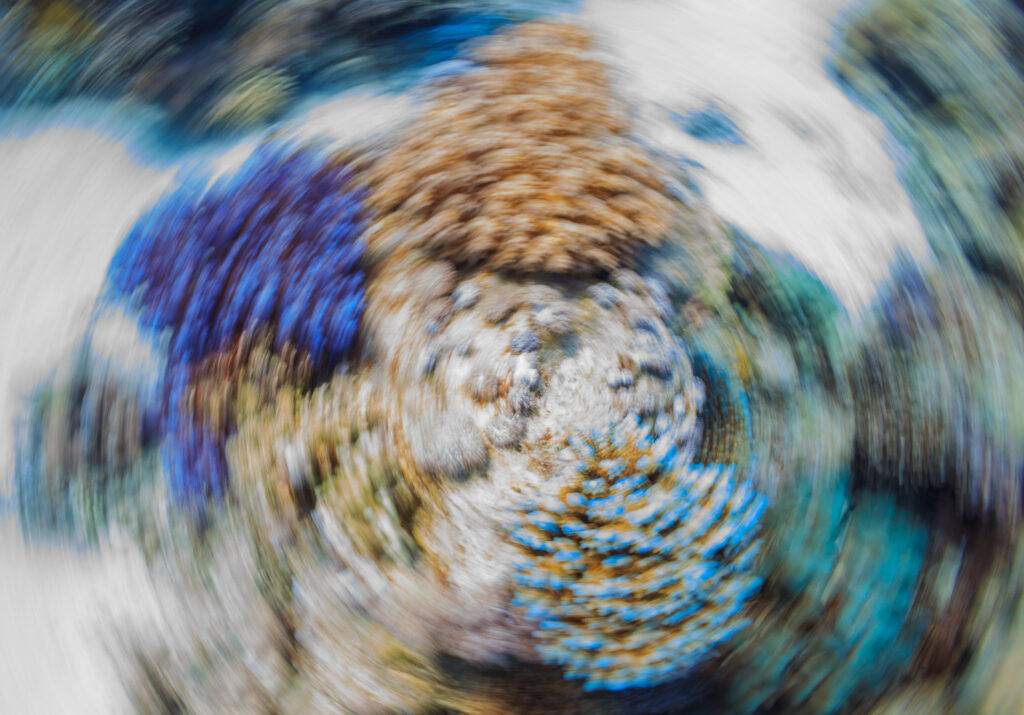
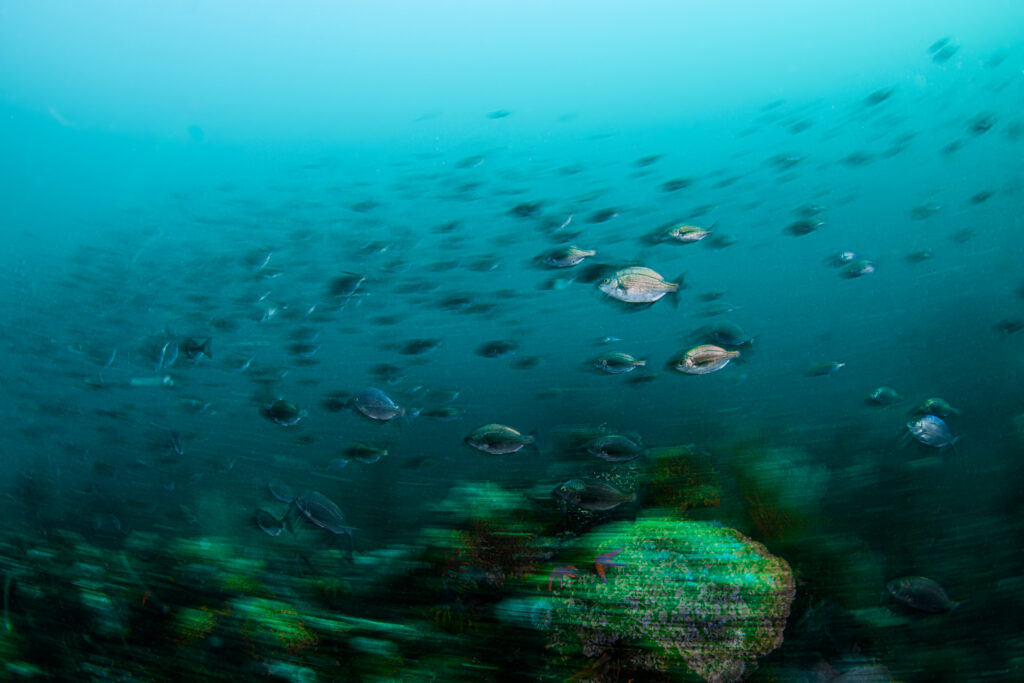
This is the technique that convinces people you didn’t just take a photo, you made one. A slow shutter blurs the background into streaks of colour and movement, whilst a well-placed strobe freezes your subject sharply against it, ideally right on the eye.
Panning with a moving subject, holding still and letting it swim through your frame, or switching between front and rear curtain all give you a different flavour of blur, so try more than one approach on the same subject. Keep your aperture closed and your ISO low to balance that long shutter speed, particularly in bright conditions, or you’ll overexpose the image out before the effect has a chance to work. Let your strobe freeze the motion.
Make it your own
So there you have it. Seven ways to push your wide-angle photography past the obvious wide shot and into something with real creative intent behind it.
None of these techniques are difficult in isolation, but they reward practice, patience, and a willingness to come home with a memory card full of failed attempts before you land the one that works.
That’s exactly the kind of hands-on practice we build into my Wide Angle Workshops, and you can join me for one in Raja Ampat this September 2027. Find all the details on the Wide Angle Wonders Workshop page.
Whichever technique you try first, remember to make your subject the star of the show. Just give it a go.