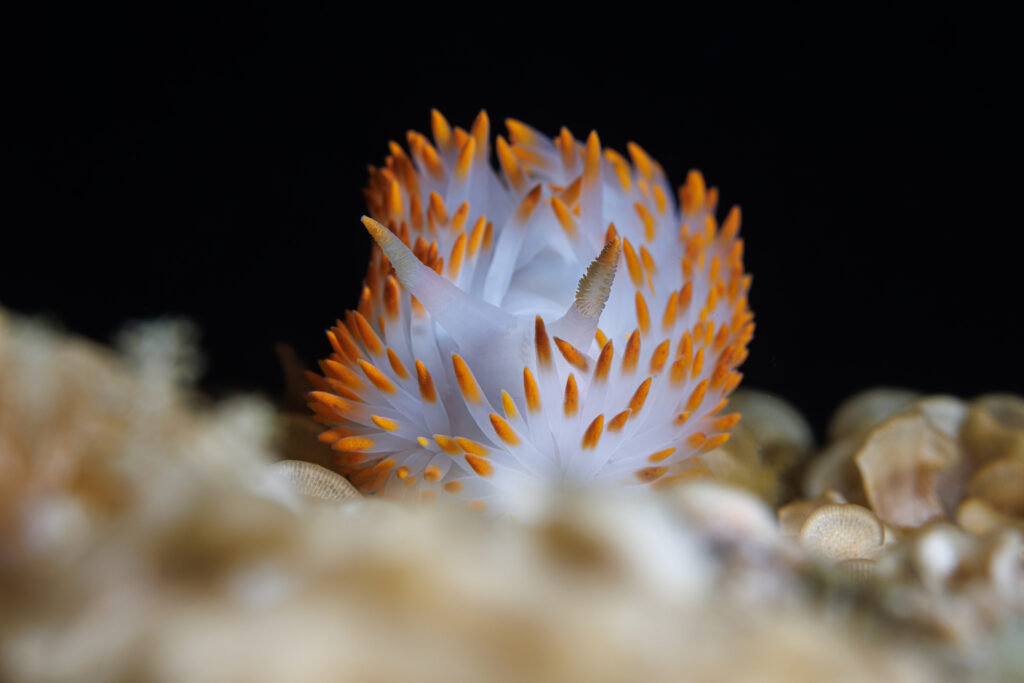
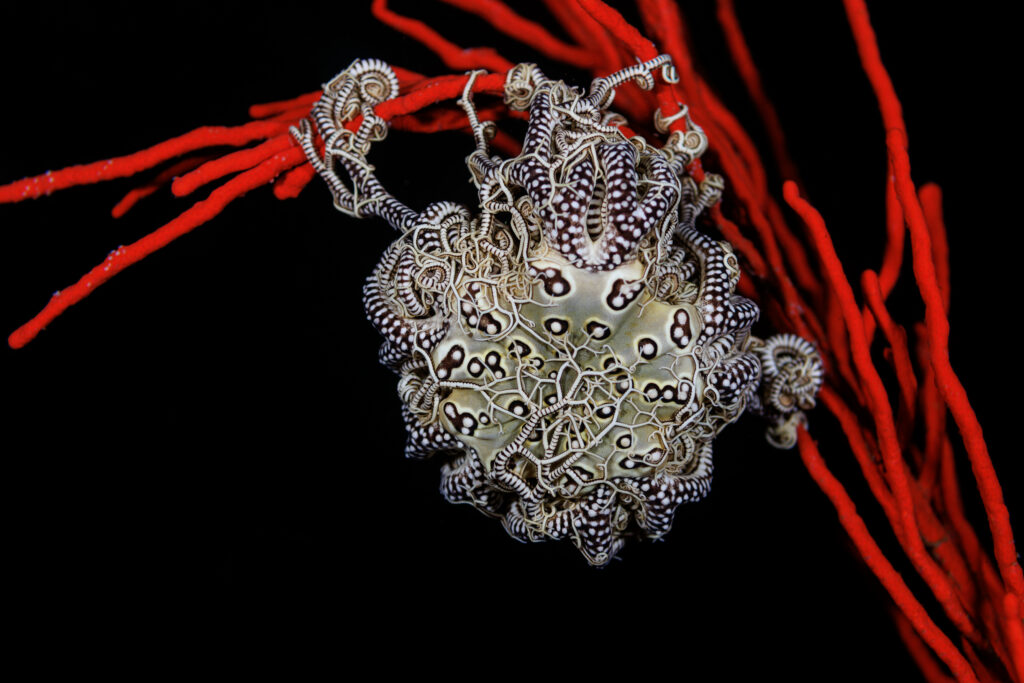
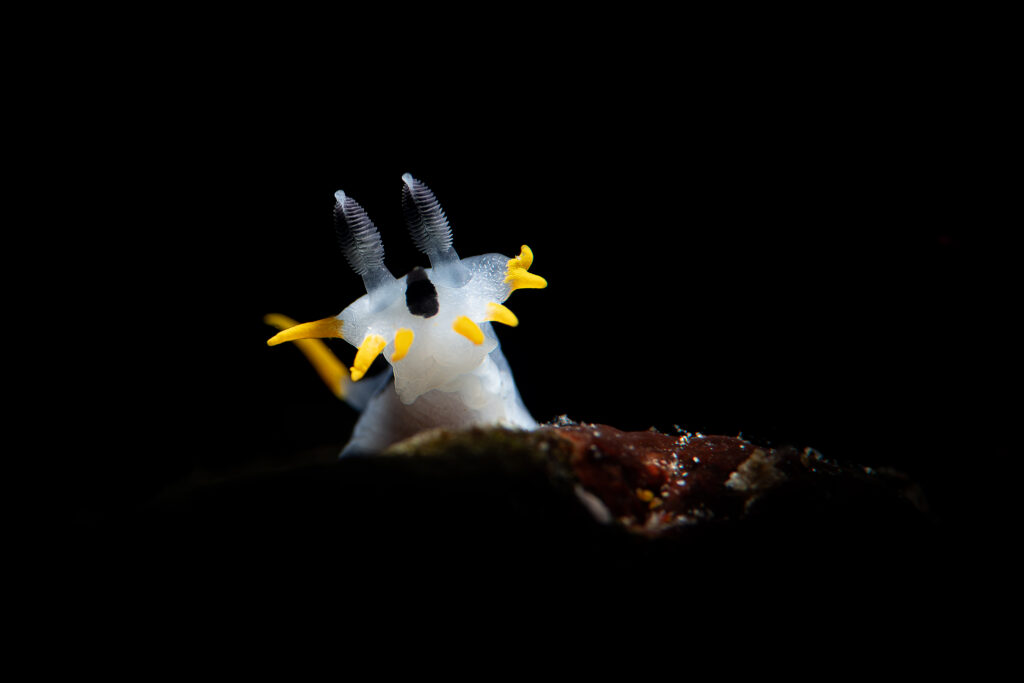
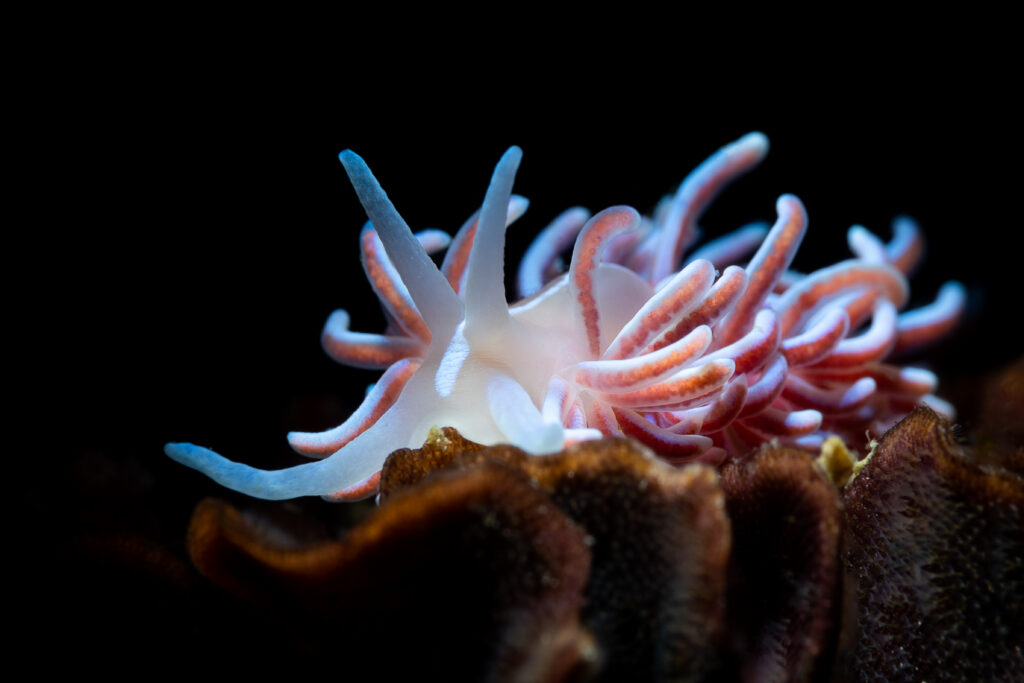
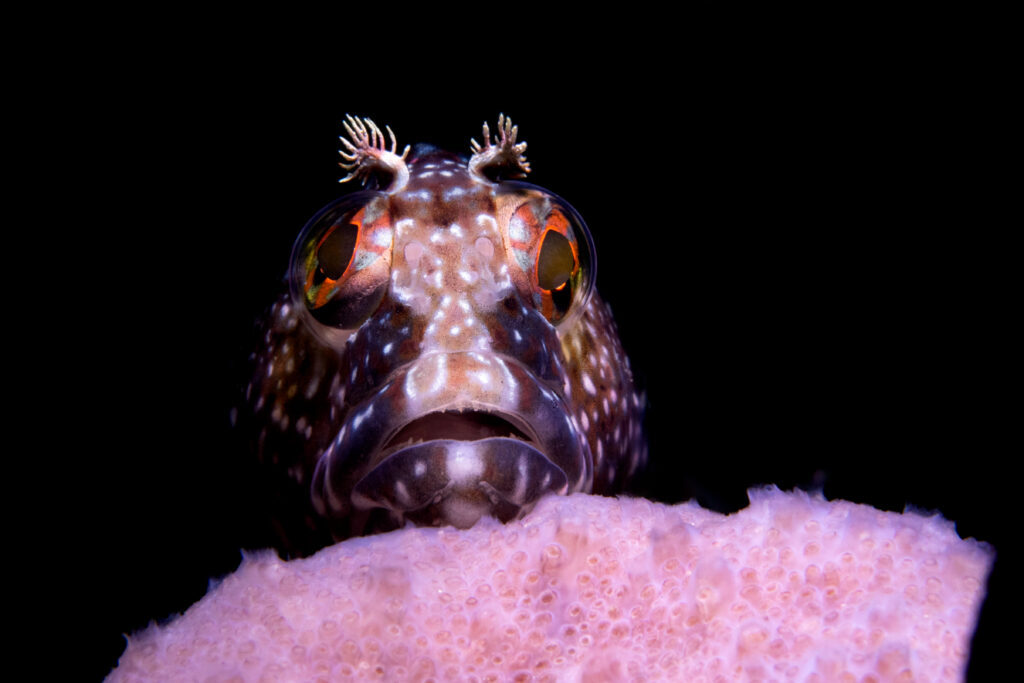
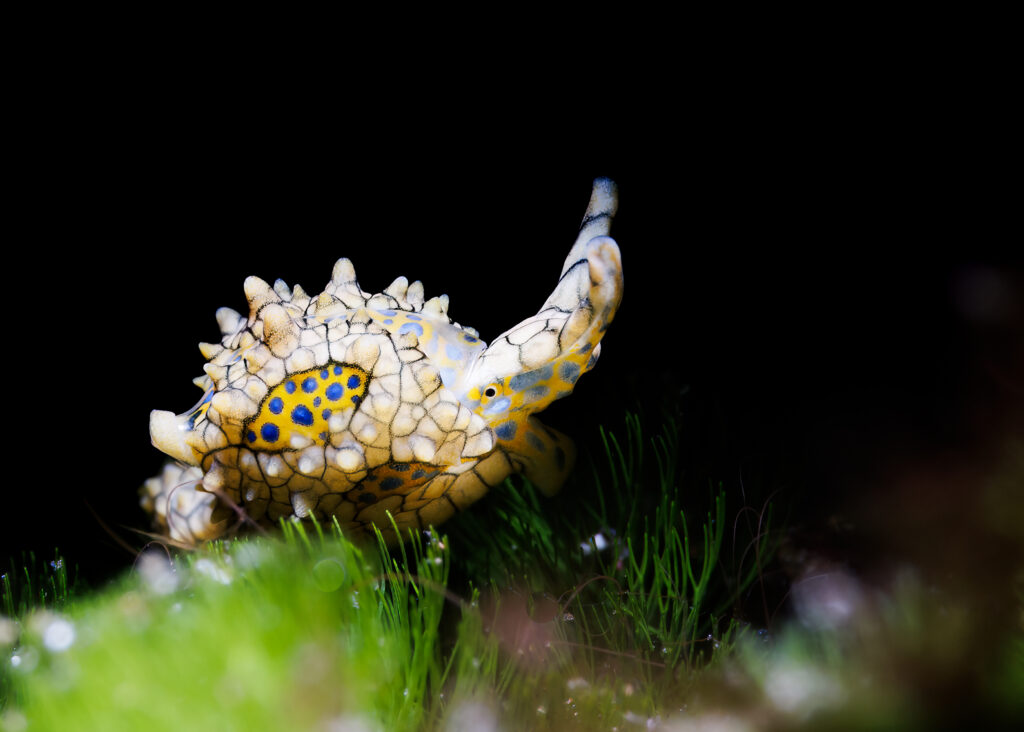
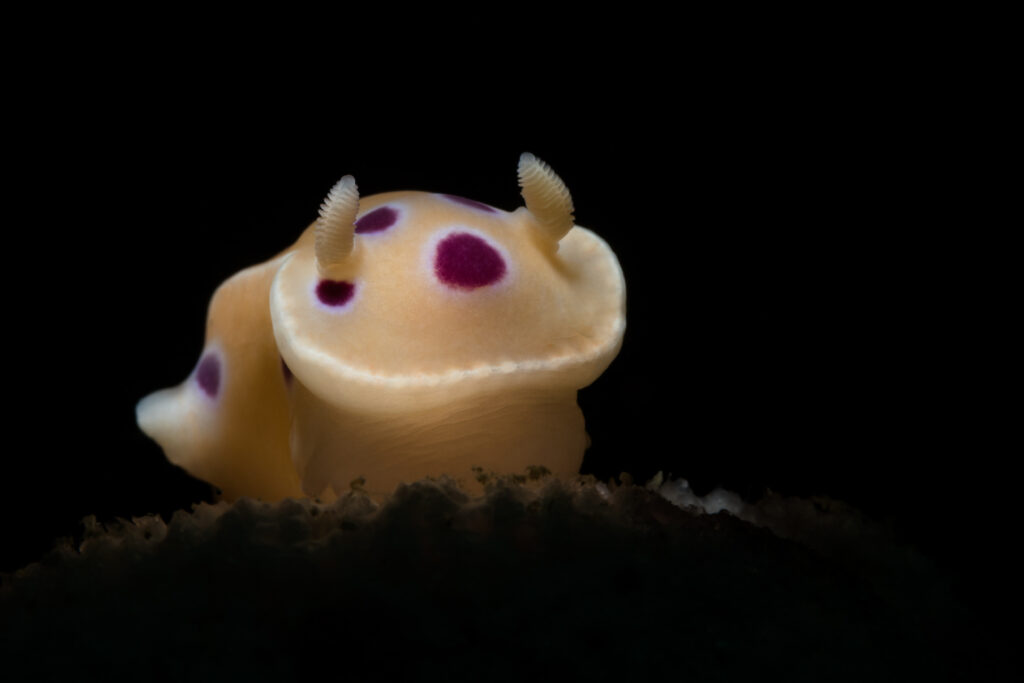
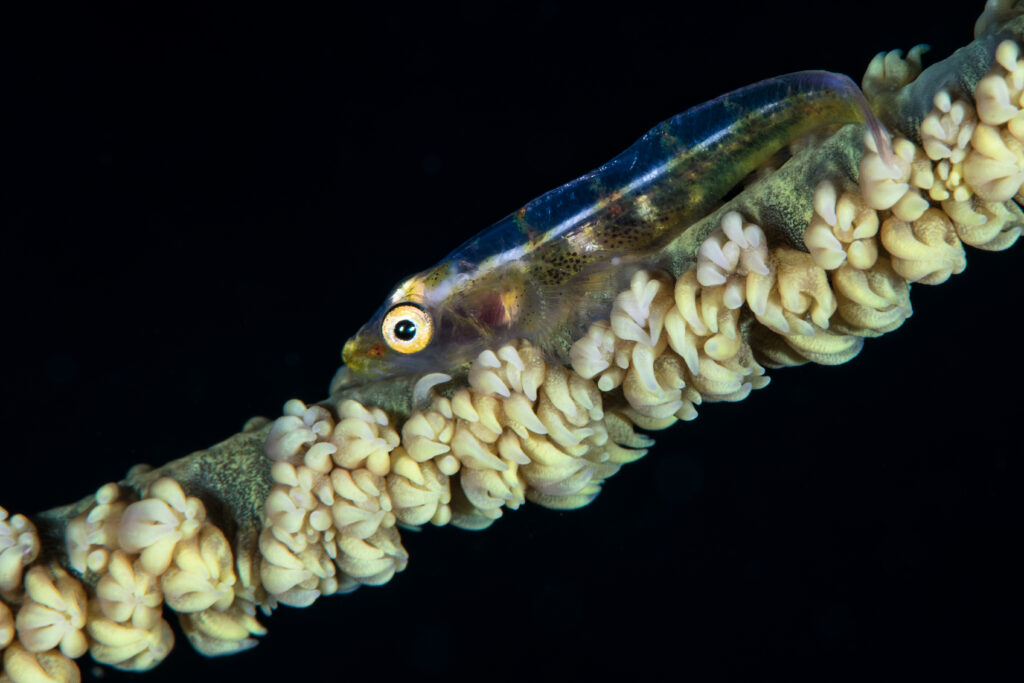
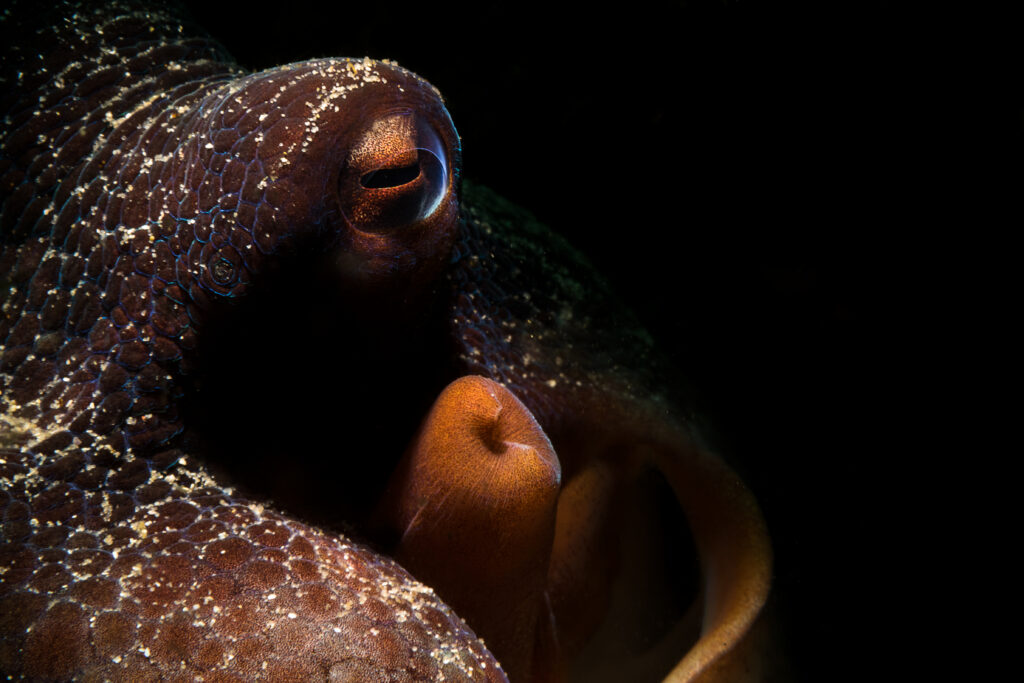
When I first started out in underwater photography, I was completely captivated by macro images that showed vibrant, detailed critters against a pure, inky black background. I loved how the subject seemed to leap off the screen, and how the colours popped against all that darkness. I knew a snoot could get you there, but snooting felt like a whole other world – one I wasn’t ready for yet. So I spent hours researching and testing, dive after dive, until I cracked the code. It wasn’t easy. But it was absolutely worth it.
Here’s the good news: you don’t need a snoot (although a snoot plus a dive guide to position it for you is a lot easier), a fancy rig, or years of experience to get a black background. What you need is a solid understanding of your camera settings, your strobe, and where your subject is positioned and the willingness to try. Let me break it down.
Why Does the Background Go Black?
Before the how, it helps to understand the why. Underwater, you’re working with two light sources: the ambient light around you, and the artificial light from your strobe. A black background happens when you eliminate all the ambient light from your exposure, so your strobe becomes the only light source. Your subject is lit beautifully, and everything else falls away into darkness. Simple in theory – but a few things need to line up to make it happen.
Get Your Camera Settings Right
Your camera settings are your first and most important tool – all three elements of the exposure triangle need to work together to cut out ambient light.
Keep your ISO as low as possible, since a low ISO makes your sensor less sensitive to the available light around you. Push your shutter speed as fast as it will go, since this has the most dramatic effect on your background – the faster the shutter, the less ambient light gets in. Then close your aperture down to a small opening, to cut out the rest of that ambient light and give you good depth of field.
Run the Test
Here’s a trick I share with every one of my students, and it’s a game-changer. Before you press the shutter on your subject, turn your strobe off completely and take a test shot. Is the frame completely black? If it is, your settings are doing exactly what they should. Turn your strobe back on, and the only thing lit in your image will be whatever your strobe illuminates: your subject.
If the test shot isn’t completely black, increase your shutter speed, close down your aperture, or lower your ISO, then test again until you get that pure black frame.
Choose Your Subject Carefully
This is the step photographers overlook most, and it makes an enormous difference. It’s far easier to land a black background when there’s nothing but open water behind your subject. If your critter is against a reef wall, a sandy bottom, or a cluttered background, your strobe light will spill onto those surfaces and light them up – no matter how well your settings are dialled in.
So before you start shooting, look for subjects with open water behind them: a nudibranch on a rock, a shrimp at the edge of a sponge, a frogfish on a raised piece of rubble. Position yourself slightly below your subject and angle your camera upwards – this naturally places the water column behind it, giving you that clean, dark background.
A word on ethics here, because it matters. Don’t be tempted to move a subject onto a more convenient piece of coral just to get open water behind it. No photograph, however stunning, is worth harming a creature or displacing it from its home. The best black background shots are earned through patience and observation, not intervention. Hunt for subjects that are already well positioned, and if you can’t find one, move on – there will always be another subject, on another dive.
Get Your Strobe Positioning Right
Once your settings are right and your subject is well positioned, think about your strobe. First, remove your diffusers – they spread the light wide, which is the opposite of what you want. Without one, your light stays focused and gives you a sharper, crisper quality that brings out detail in macro subjects.
For black backgrounds, you want inward lighting: angling your strobe or strobes inward and back towards your camera, so you’re lighting your subject with the outer edge of the beam rather than its bright centre. Point the full centre of the beam straight at your subject and you risk spilling light onto the background, losing that inky black effect.
With two strobes, angle both inward so their outer edges converge on your subject; with one, position it above and angled inward the same way. Compact shooters often find the most effective position is directly above the housing, pointing back towards it. As you reposition your arms, keep an eye on what’s behind your strobes – it’s easy to catch a sea fan or delicate sponge without realising it.
Still spilling wider than you’d like? A beam restrictor, or even a strip of old neoprene wrapped around your strobe head (as long as it does not have a heat dispersing ring around the strobe head), will narrow the beam and tighten that separation between subject and background.
So there you have it: black backgrounds are not the exclusive domain of snooters and experts. With the right settings, a well-positioned subject, and a bit of patience, any underwater photographer can achieve this dramatic look. Because it’s not which camera you have that matters – it’s how you use it. So, which critter are you going to make the star of the show first?
Just give it a go!
If you’ve found this post useful, you might want to check out my two online courses: TG Underwater Photography Made Easy and The Confident Underwater Photographer (for all other cameras with manual settings).