Lack of proper o-ring care and preparation are two of the main causes of camera housing leaks. Follow these easy steps in order to reduce the possibility:
When you prepare your camera housing for diving, follow the next important steps:
- Prepare your housing, unhurried, in a well-lit area, where you will not be disturbed.
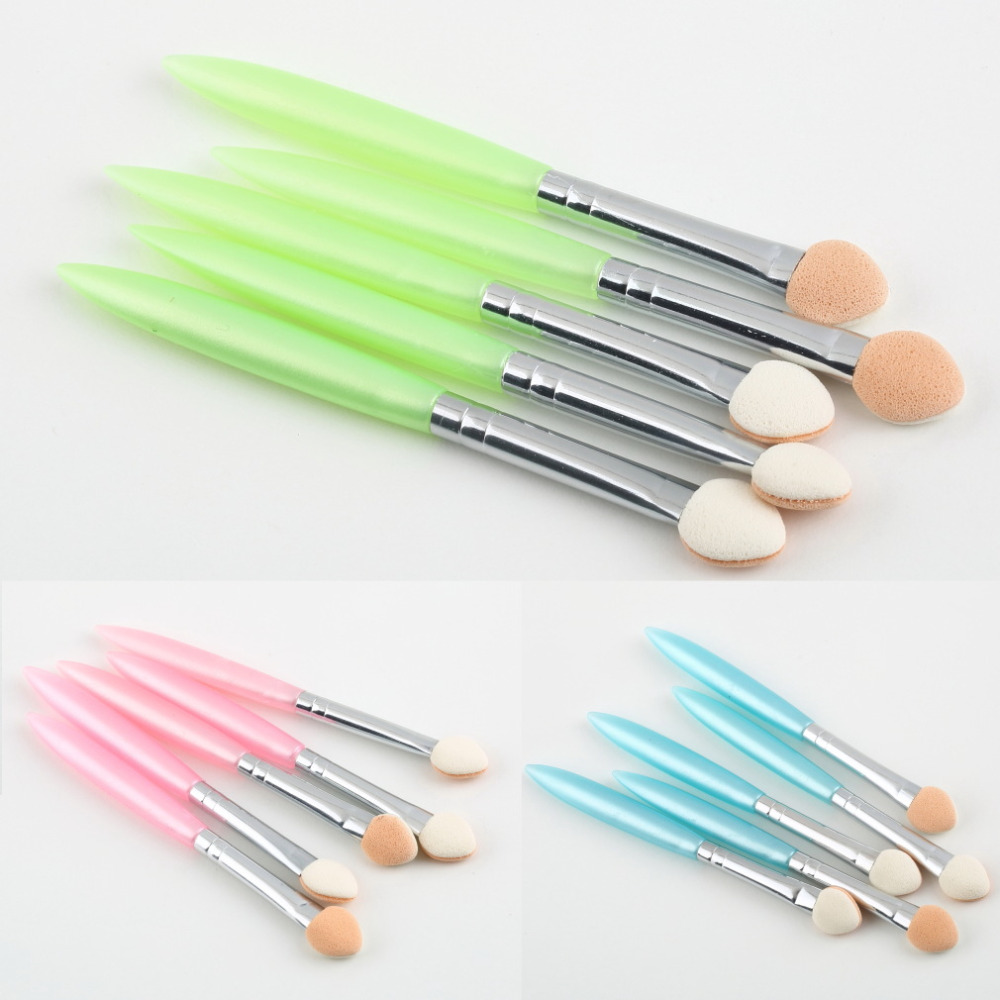
- Before putting the o-ring into its groove, clean the groove with a clean ear-bud (q-tip) covered with lint free paper such as lense cleaning tissue or with a small, clean, fluff-free make-up sponge.sponges.

- Check the o-ring for stray hairs (dog and human!), fluff, sand, dust or anything else that could damage the o-ring or prevent it from sealing the housing properly.
- Check it for tears, cuts or damage and do not use it if it’s damaged in any way. Only use an o-ring suitable for your housing.
- Apply o-ring lube (the one supplied with your housing) by taking a small, rice-sized blob and dotting it around the o-ring. Do not over-lube! Gently run the o-ring between your forefinger and thumb to ensure it is evenly coated. Do not stretch the o-ring when you do this!
- Once you are happy that the o-ring is hair and dust free and evenly coated with a thin layer of lube, you can put it into its groove. Double-check the groove for stray hairs or sand that might have found their way there after you cleaned it. Only then put the o-ring into it.
- Don’t stretch or twist the o-ring when putting it into the groove, roll it in slowly and make sure it’s not twisted. You should use the o-ring remover provided with your housing to pull it up slightly so that it can untwist itself.
- When you are happy that the o-ring is in place, give it a final once-over to check there is no sand, dust or hair that has magicked its way back onto the o-ring.
- Once you are happy that everything is ok and that the camera is properly lined up in the housing, you are ready to close the housing and lock the door!
- As you gently close the door, check that that nothing is going to be trapped between the o-ring and the housing / door. This includes common culprits such as housing straps and dessicant packets. This will definitely cause a leak.

- Check that the housing is properly locked and the latches are closed correctly.
- If you use synch cords for your strobes, double check that they have been fully screwed in.
- Double check the door to see that the o-ring has not popped out and that it is not visible, sitting between the door and the housing.
- Test that all buttons are aligned with the housing buttons and that the strobe fires at the proper time!
- Whenever removing the o-ring, remember to use the o-ring remover to take it out. Don’t pinch it with anything sharp that will damage it.
- When you are not using the camera, remove the o-ring from its groove, remove all sand, hair, dust and fluff from the o-ring. If it is heavily covered with sand or debris, you can rinse it in fresh water and shake it dry. Do not dry it with a cloth that will leave fluff behind! Then apply a thin coating of o-ring lube to it, place it inside a clean ziplock bag and keep it together with your housing somewhere safe, cool and dry, where it will not be squashed, bent or pressed on by sharp objects which cause it to become damaged.


