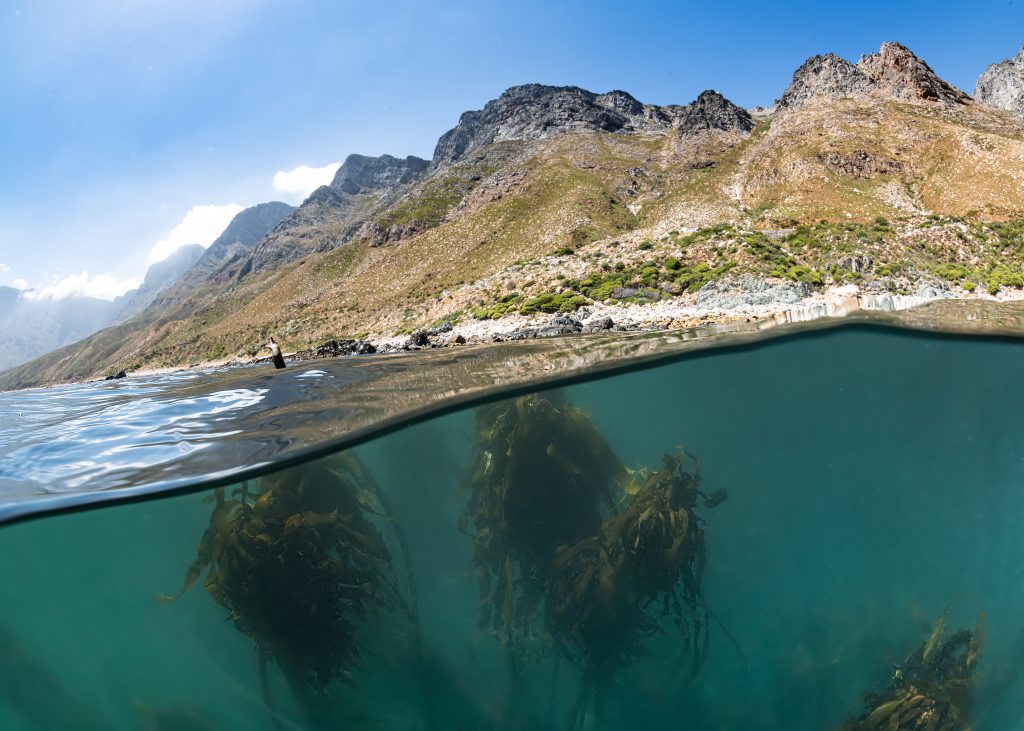
Underwater photography is a fascinating pursuit, and the appeal of half-and-half, or split shots, is both distinctive and engaging. These images seamlessly merge the underwater world with the surface, offering a unique perspective that captures viewers’ attention. The thin surface layer of the water creates a natural divide, showcasing the beauty both above and below the ocean’s surface.
Now, let’s dive into the step-by-step guide to mastering this art.
Step-by-Step Guide:
Select the Right Gear:
- Opt for a wide-angle lens to capture an expansive view above and below.
- Use the largest dome port you have for easier shot composition.
- Larger domes are better when the water is not 100% flat.
- Larger dome ports can also add buoyancy and help offset housing weight.
- A 45-degree viewfinder facilitates capturing this type of shot effectively.
- Note: Wet wide-angle lenses with compact cameras may not work due to water drainage.

Ideal Conditions:
- Ensure subjects of interest exist in both halves of the frame.
- Choose clear water conditions for optimal underwater visibility.
- Try this on calm days with flat water for better control of the waterline.
- Maximize natural light, preferably with the sun behind you for well-lit scenes above and below.
- Sunset split shots often involve shooting into the sunset, which means you will need to use strobes beneath the water to illuminate the reef below.
Master Buoyancy:
- Achieve neutral buoyancy for effortless hovering at the waterline.
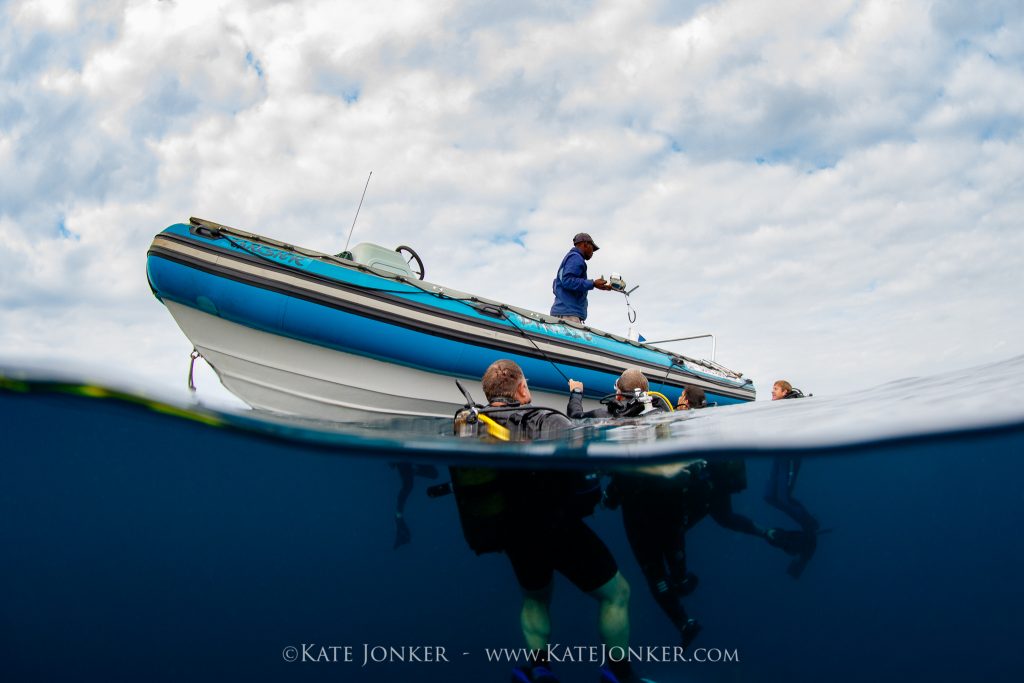
- Snorkelling gear is preferable to scuba gear.
- Utilize a life vest (life jacket) to rest your camera on the surface.
- Do not stand on the reef to steady yourself!

Compose the Shot:
- Frame your shot with the waterline centred.
- Experiment with dynamic angles – a slight tilt can make a significant difference.
- Tilt up to include the under surface of the water, reflecting nearby subjects.
- Tilt down to reveal the underwater scene from above.
Manual Settings:
- Set your camera to manual mode for precise control.
- Adjust aperture for a good depth of field to keep both subjects in focus.
- Use a fast shutter speed to prevent motion blur.
- Employ back-button focus to ensure the underwater subject remains sharp.
Focus on Foreground:
- Prioritize focusing on underwater elements for clarity.
- Use a small aperture for a larger depth of field; start with F20 on a full frame camera, F16 on a crop sensor.
Use Natural Light:
- Leverage available sunlight for a warm, natural glow.
- Avoid using your strobes if possible, to prevent backscatter and hot spots from strobes that are hanging down.
- If using strobes during golden hour / sunset, position them back and turn the strobe power down to prevent backscatter.

Water Droplets:
- Quickly dip your port into the water and capture the shot before water droplets appear.
- Some photographers lick their dome ports to prevent water droplets.
- Others recommend rubbing a cut potato on the port – an untested method for me.
- If you have a Marelux dome port, it’s designed to repel water droplets during half-and-half shots.
Congratulations! By following these steps, you’re on your way to mastering the art of half-and-half underwater photography.
Embrace the challenge, experiment with different settings, and let your creativity flow. As you continue honing this skill, you’ll unlock a new dimension in your underwater photography portfolio.
The ability to capture the magic where water meets air is a gift – one that promises to captivate your audience and elevate your status as an underwater photographer. So, gear up, dive in, and let the beauty beneath the waves unfold in your lense!