Sharks are beautiful animals and many divers travel across the globe to visit destinations renowned for their shark species.
Here are my top tips for beautiful underwater photographs of sharks, so that you can return home with the best possible photos!
Best Lenses for Shark Photography
Best lenses for photographing shy sharks
- For sharks that are skittish (such as great white sharks and schooling hammerheads), that don’t come that close, use a rectilinear lense, either a Nikon 12-24mm, Canon 16-35mm, Olympus 9-18mm or Sony 16-36.
Best lenses for photographing inquisitive sharks
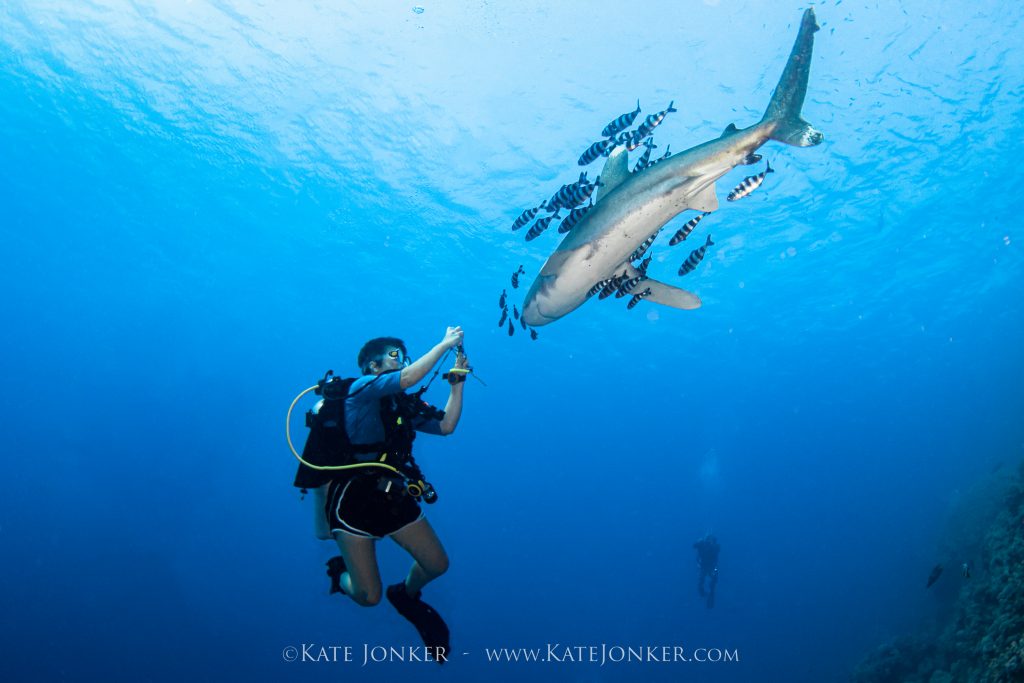
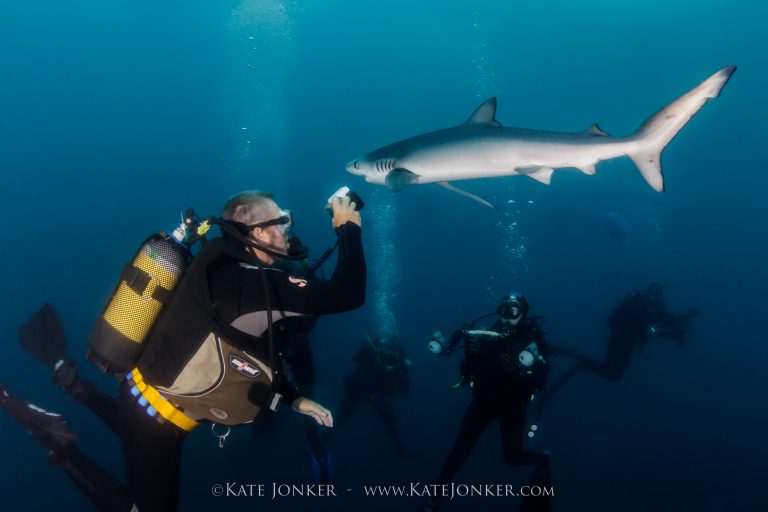
- For sharks that are inquisitive (such as blue sharks, oceanic white tips, ragged tooth sharks and grey reef sharks), and like to come close, use a fisheye lense as these lenses can focus right on the dome.
- Fisheye prime lenses: Sigma 15mm, Nikon 10.5mm and 8mm Olympus or Panasonic.
- Fisheye zoom lenses: Tokina 10-17mm or Nikon/Canon 8–15mm.
Best lenses for compact cameras
- For compact camera users, a wet wide angle lense that screws on to the front of your housing is a great option and will increase your field of view to around 130 degrees. This means you can get closer to your subject and fit more of it into the frame without having to back off.
- There are many great wet wide-angle lenses on the market today from brands such as Inon, Fantasea, Nauticam and Kraken.
- Make sure you get one with glass lenses in them. There are others that are cheaper and made of perspex and do not include glass lenses. These just correct the field of view of the camera and do not give you the extra field of view that those with lenses do.
Top tip: When using a fisheye, make sure your subject is in the centre of your frame to prevent distortion.

Dome Ports
If travelling allows, a 230mm dome port is a good option as it ensures a crisp image throughout the frame. It is also useful for split (half-and-half) shots.
If you prefer to use a 4″ mini dome port, be aware that you might need to stop down your aperture to prevent corner softness if you are including reef in the frame. This can be an issue when diving in deeper, darker water as you will need to either increase your ISO or slow down your shutter speed (but this could cause motion blur) to allow more ambient light into the picture.
Using strobes when photographing sharks
- Sharks have white bellies that can reflect a lot of light back to you.
- Set your strobes on manual and choose a low power so that you don’t overexpose the bottom half of the shark. This also helps to reduce recycle time.
- If you are very close to the surface, and if there is chum in the water, turn your strobes off. Use natural light instead, to prevent backscatter.
- Position your strobes out wide and in line with the handles of your rig, pointing straight forward to minimise backscatter. If the sharks come closer, pull your strobes inwards towards your housing to ensure your subject is evenly lit.

Camera settings when photographing sharks
- Shoot in RAW for post-production.
- Set your camera to Manual.
- Set your metering mode to spot metering.
- Use ISO200 (or ISO400 if you are deeper and need to add some extra brightness to the water column).
- Shutter speed: between 1/125 and 1/200 to freeze motion.
- Aperture: shoot between F8 and F11, or F16 when shooting into the sun.
- Try to keep your depth and position in the water constant so that you don’t have to keep changing your settings.

Autofocus Modes
Use Continuous AutoFocus or AI Servo on Canon cameras and AF-C on Nikon. These modes are best for moving subjects as, when you half-press the shutter, the camera will focus and track your subject, continuing to focus until you fully press the shutter.
Check out your camera’s auto focus modes and set it to tracking (animal eye) if it has that option. Focus on the shark’s eye and keep the camera’s shutter button half pressed. The focal point should lock on to the shark’s eye and keep focus until you fully press the trigger. If your shark is too far away to lock on to its eye, focus on its head and your camera should still keep focus.

How to photograph sharks
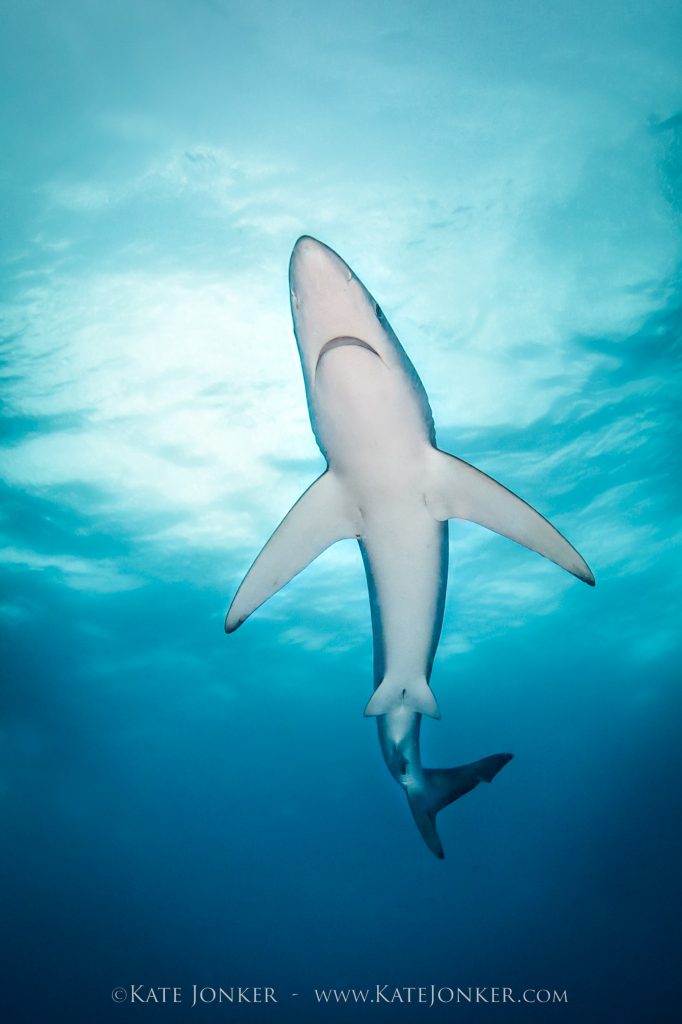
- Try shooting upwards from below the shark, with your strobes off to create a beautiful shark silhouette. Set your aperture to around F/16-F/18. Meter the brightness of the water and adjust your shutter speed to ensure your exposure is correct. Then wait for the shark to reach the centre of the frame.
- Focus on the eye of the shark as it swims past you.
- Try to include water texture and movement if you are close to the surface, to add an extra dimension.
- If you are fairly shallow and can easily see the sea floor, shoot directly downwards at the back of the shark to get a nice contrast between dark back and light sand. This looks great in black and white – and you might be able to capture beautiful sun’s rays pointing downwards as well.
- If you get the chance, try some ½ and ½ shots with the shark just below the surface.
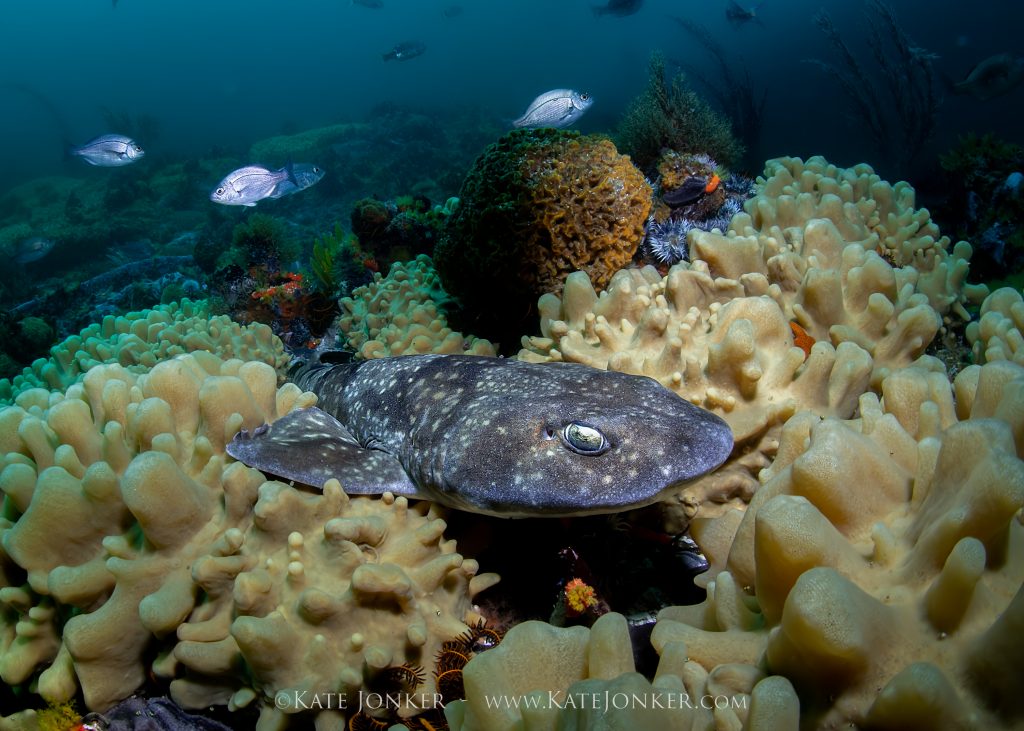
- Also try to capture the sharks in their natural environment. Not all sharks spend their days swimming the oceans.
- Try some slow-shutter speed shark photography.
Wherever you travel to see and photograph sharks, enjoy the experience. There are so few sharks left in our oceans today and so many people who will never get to see a shark in the wild.
Bring back great photos and share them with others so that they can realise how beautiful these creatures are, and how vital it is that we all protect and preserve our oceans and the creatures that live in them!
