Do you want to be able to capture photos of the smallest creatures on the reefs? Nudibranchs, small fish, shrimps, crabs – or possibly even just the tiniest detail of something slightly larger? Here’s everything you need to know about underwater macro photography!
What is Macro Photography?
The term macro relates to the magnification of the image as it appears on the sensor. For example, if you have a small shell 10mm in diameter and the image cast onto the image sensor is 10mm as well, then this is called 1:1 magnification (life size).
Why Macro Underwater Photography?
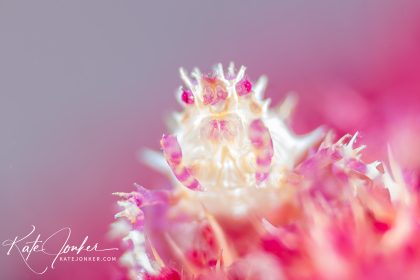
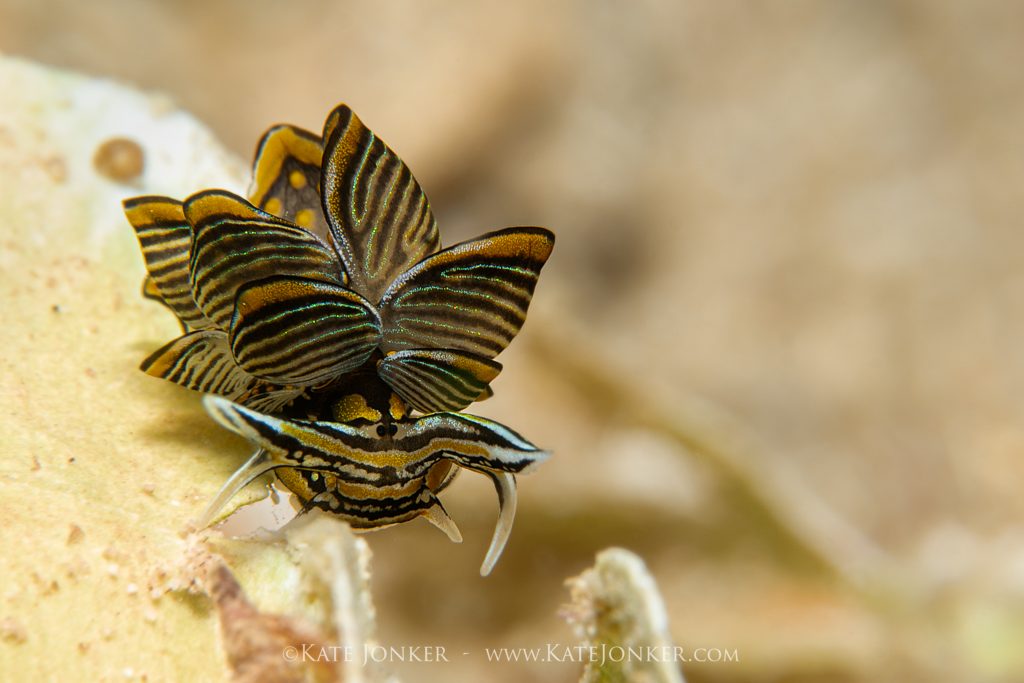
Macro photography reveals a completely new underwater world to us. It brings out the colours, textures and details of the smaller critters on the reef. It gives us the ability to focus on one subject and make them the star of the show.
What are the Ideal Subjects?
Nudibranchs, shrimps, small reef fish, flatworms, anemones, spider crabs, feather duster worms, snails, hydroids, and amphipods all make great subjects. You can even capture interesting elements of larger subjects – such as the polyp of a soft coral, the detailed arm of a basket star or the texture of a starfish, to create abstract images. You will never be short of subjects when you are doing macro underwater photography!

Equipment
Compact Cameras
If you are going to buy a compact camera, consider the type of photography you are going to do before making that all-important purchase. Some compact cameras can focus much closer than others and if you know you are going to do a lot of macro photography, make sure the camera you are going to buy can focus as close to the subject as possible. It pays to do your research!
Interchangeable lense cameras (mirrorless / cropped sensor / full frame camera)
Most of us start out with a compact camera and once we have outgrown them, move on to cameras with separate bodies and lenses. This gives us the ability to choose the lense we want to use, depending on the type of photos we are going out to shoot.
This does have its downside as you need to purchase a housing as well as different ports for the lenses you are going to be using. It also means that on a dive, you are stuck with the lense that is on the camera. If you have a macro lense on your camera and see a whale shark, you are probably only going to be able to photograph its eyeball (if it gets that close!). However, the options to use the lenses more creatively is far greater with these cameras.
Recommended lenses
My recommended lenses for macro underwater photography are a 60mm lense for crop sensor (and Nikon full frame) cameras. These lenses are far easier to use when the water is murky and / or surgy. For full frame Canon users, you would need to get yourself a 100mm macro lense. I have also had great success with the Zeiss Touit 50mm macro with the Sony A6400 mirrorless and can highly recommend this lense should you have a camera in this range and are looking for a great macro lense.
Other lenses
The Nikon 105mm and Canon 100mm macro lenses are both super sharp lenses which create beautiful bokeh (blurry backgrounds) and can be used on both crop sensor and full frame cameras. However, I find them much harder to use in the often-surgy waters of the Cape because of their longer working distance (distance from the camera to your subject) and narrower field of view (how “wide” your camera sees from left to right).

A quick (basic) lesson in settings:
Manual Mode:
Try to shoot in manual! Get out of that “underwater” or “auto” mode and take control of your camera! The more you can control, the more creative you can be and the better shots you will be able to take.
No manual mode?
If your camera does not have a Manual Mode option, put it in AV. AV means you can set the aperture and the camera will set the shutter speed to give your image the right amount of exposure.
Lighting
Adding a strobe to your setup will take your photography to the next level! When I first started taking photos underwater, I did not use a strobe. I did not even use the camera’s flash. This helped me learn how to get the most out of ambient (natural) light and how the settings worked in manual. However, when I finally took the plunge and added a strobe, I realized what a huge difference this made. The colours just popped!
For macro photography, you can get by with just one strobe. Strobes can be costly; but look at this way – buy the best you can afford, and it will see you through a lot of dives, a lot of cameras and a lot of upgrades. I use strobes that I bought in 2015 and they are still going strong!
One important thing to remember when using a strobe, is to set the white balance of your camera to Auto White Balance (AWB). This will give you the best colour reproduction.
Strobe Positioning
Depending on how you position your strobe, you can create shadows, light just your subject and increase texture and vibrancy.
The beam that comes out of a strobe is like a cone – narrow as it comes out of the strobe becoming wider and less bright the further away it travels.
Single Strobe – Standard Strobe Positioning
The best way to position a single strobe is to centre it above your housing, pointing slightly upwards at a 45-degree angle.
For best lighting (and to prevent backscatter), you want to light your subject with the edge of the cone so that the water between your camera and your subject is not illuminated.
Two Strobes – Standard Strobe Positioning
The best way to position two strobes for even lighting is to place them on either side of your port or housing, pointing straight forward. This will give you an even spread of light. To create a more dramatic effect, you can set your strobes at different strengths or point them in different directions. It is a lot of fun to play around with this!
No strobes? Use Constant Lighting!
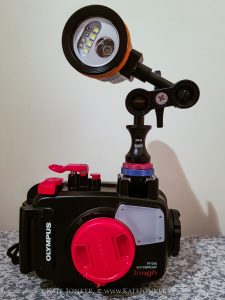
If you do not have a strobe, it is possible to use a torch or video light instead. However, as torches and video lights tend to be less powerful than strobes, their light is much softer, and you will not have the hard-edged image sharpness that strobes give you.
If your torch is not very bright, you might need to slow down your shutter speed and push up your ISO to allow more of this light to hit your sensor. Try to keep your shutter speed to 1/125 at the slowest or you will get blurry images.
You will have to do a lot of playing around with the settings to get the right exposure as there is no “one size fits all”. If you do decide to use a torch or video light, my advice is to get the brightest, narrowest, strongest light possible and point it directly at your subject.

Composition
Keep it simple! For the best impact, you want to separate your subject from the background. This can be done by clever strobe positioning, using a snoot or by using a shallow depth of field (wider aperture) to blur out the background.
Fill your frame with the subject – get close and get closer! Get down to their level and focus on the eyes (or rhinophores)! Good eye contact is vital as it draws the viewer into your image.

Additional Equipment
Diopters
Diopters are basically underwater magnifying glasses which you can attach to the front of your underwater housing. They are also known as wet lenses as you can attach and remove them underwater. They help to enlarge the tiniest critters such as amphipods and small nudibranchs by allowing you to be closer to your subject. Compact cameras and 60mm lenses can benefit from the use of these. There are many different types on the market and lots of different strengths. Strengths can range from +5 to +12 to +24 with the higher number being the higher the magnification. If you purchase just one, a diopter of around +12 or +15 is the best option to go for.
The more magnification you are using, the less depth of field you will have. To ensure that more of your subject is in focus, you need to use a higher f-stop.

Focus lights
Most cameras focus by seeing contrast and to see contrast, there needs to be enough light on your subject. So, lighting your subject with a focus light helps your camera focus. If your strobe has a focus light, you might wonder why you cannot just point that at the subject; but in practice, you are not going to be pointing your strobe directly at your subject (see strobe positioning above), so that is not really an option.

Safety
It is amazingly easy to get drawn into the tiny world of macro subjects, and to hunt for the tinier critters, you will need to swim slower than most divers. If your buddy is not taking photos and swimming faster than you, it is quite easy to lose each other – especially when visibility is low. The safest way to dive is to team up with a fellow macro photographer who dives at the same pace as you do.
As we tend to concentrate a lot more, it is quite easy to lose track of time. I check my air and bottom time as I approach my subject so that I know how much of each I have left. I then check these again after taking the shots. It has become second nature but the safest way to dive! Time passes quickly underwater!
Macro photography is a lot of fun and once you discover the best settings for the results you want, you will start seeing amazing results. And just a word of warning – once the macro bug bites, it gets rather addictive!
If you love macro photography as much as I do, why not join me on my next dive trip to Romblon in the Philippines? This is one of the best places in the world to take macro underwater photos of some of the most unusual and beautiful macro subjects!

